No More Lost Jackets!
Going through piles of coats, bottles and lunchboxes in the lost and found is such a wonderful experience. Right? NOPE! My daughter started kindergarten this year. During her first few months of school, we lost two jackets and two lunchboxes! She was forgetting something at school every week, and we had to visit the Lost & Found many (many) times. It was annoying to not have the things that she needed, and also time-consuming to visit the lost & found constantly.
I’m incredibly scatterbrained so I get it. I lost something like 3 cell phones in college. I locked my keys in a car that was still running. I get it. These days, I have a mental checklist – wallet, cell, keys. But, of course, that’s advanced for a five year old. So I made her a visual checklist. It’s quick and requires zero artistic skills and she hasn’t left anything at school since. Here’s what it looks like:
Read on for the details!
Supplies: (1) Clear Acrylic Keychain Discs (like this) – make sure they have the little hole in them (2) Shower Curtain Ring with Hinge (like this) (3) Sharpie (4) Phone or Tablet (5) Scissors or Knife (optional but helpful)
Let’s get to it! This shouldn’t take you more than 15 minutes – approximately the time required for one search of the lost & found!
Step 1: The discs may be covered on both sides. If they are, remove the covering on one side (I use the scissors to get it started). If they’re only covered on one side, you can skip this step.
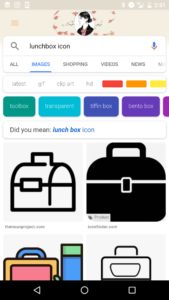
Step 2: Search for an icon on your phone. This example is a lunchbox so I searched “lunchbox icon”, then clicked “Images”. Select the icon you like the best.
Step 3: Place the acrylic disk on your phone/tablet with the uncovered side facing up. You should be able to see the icon outline through the disc. You may have to try a few before you find one that fits nicely in the space.
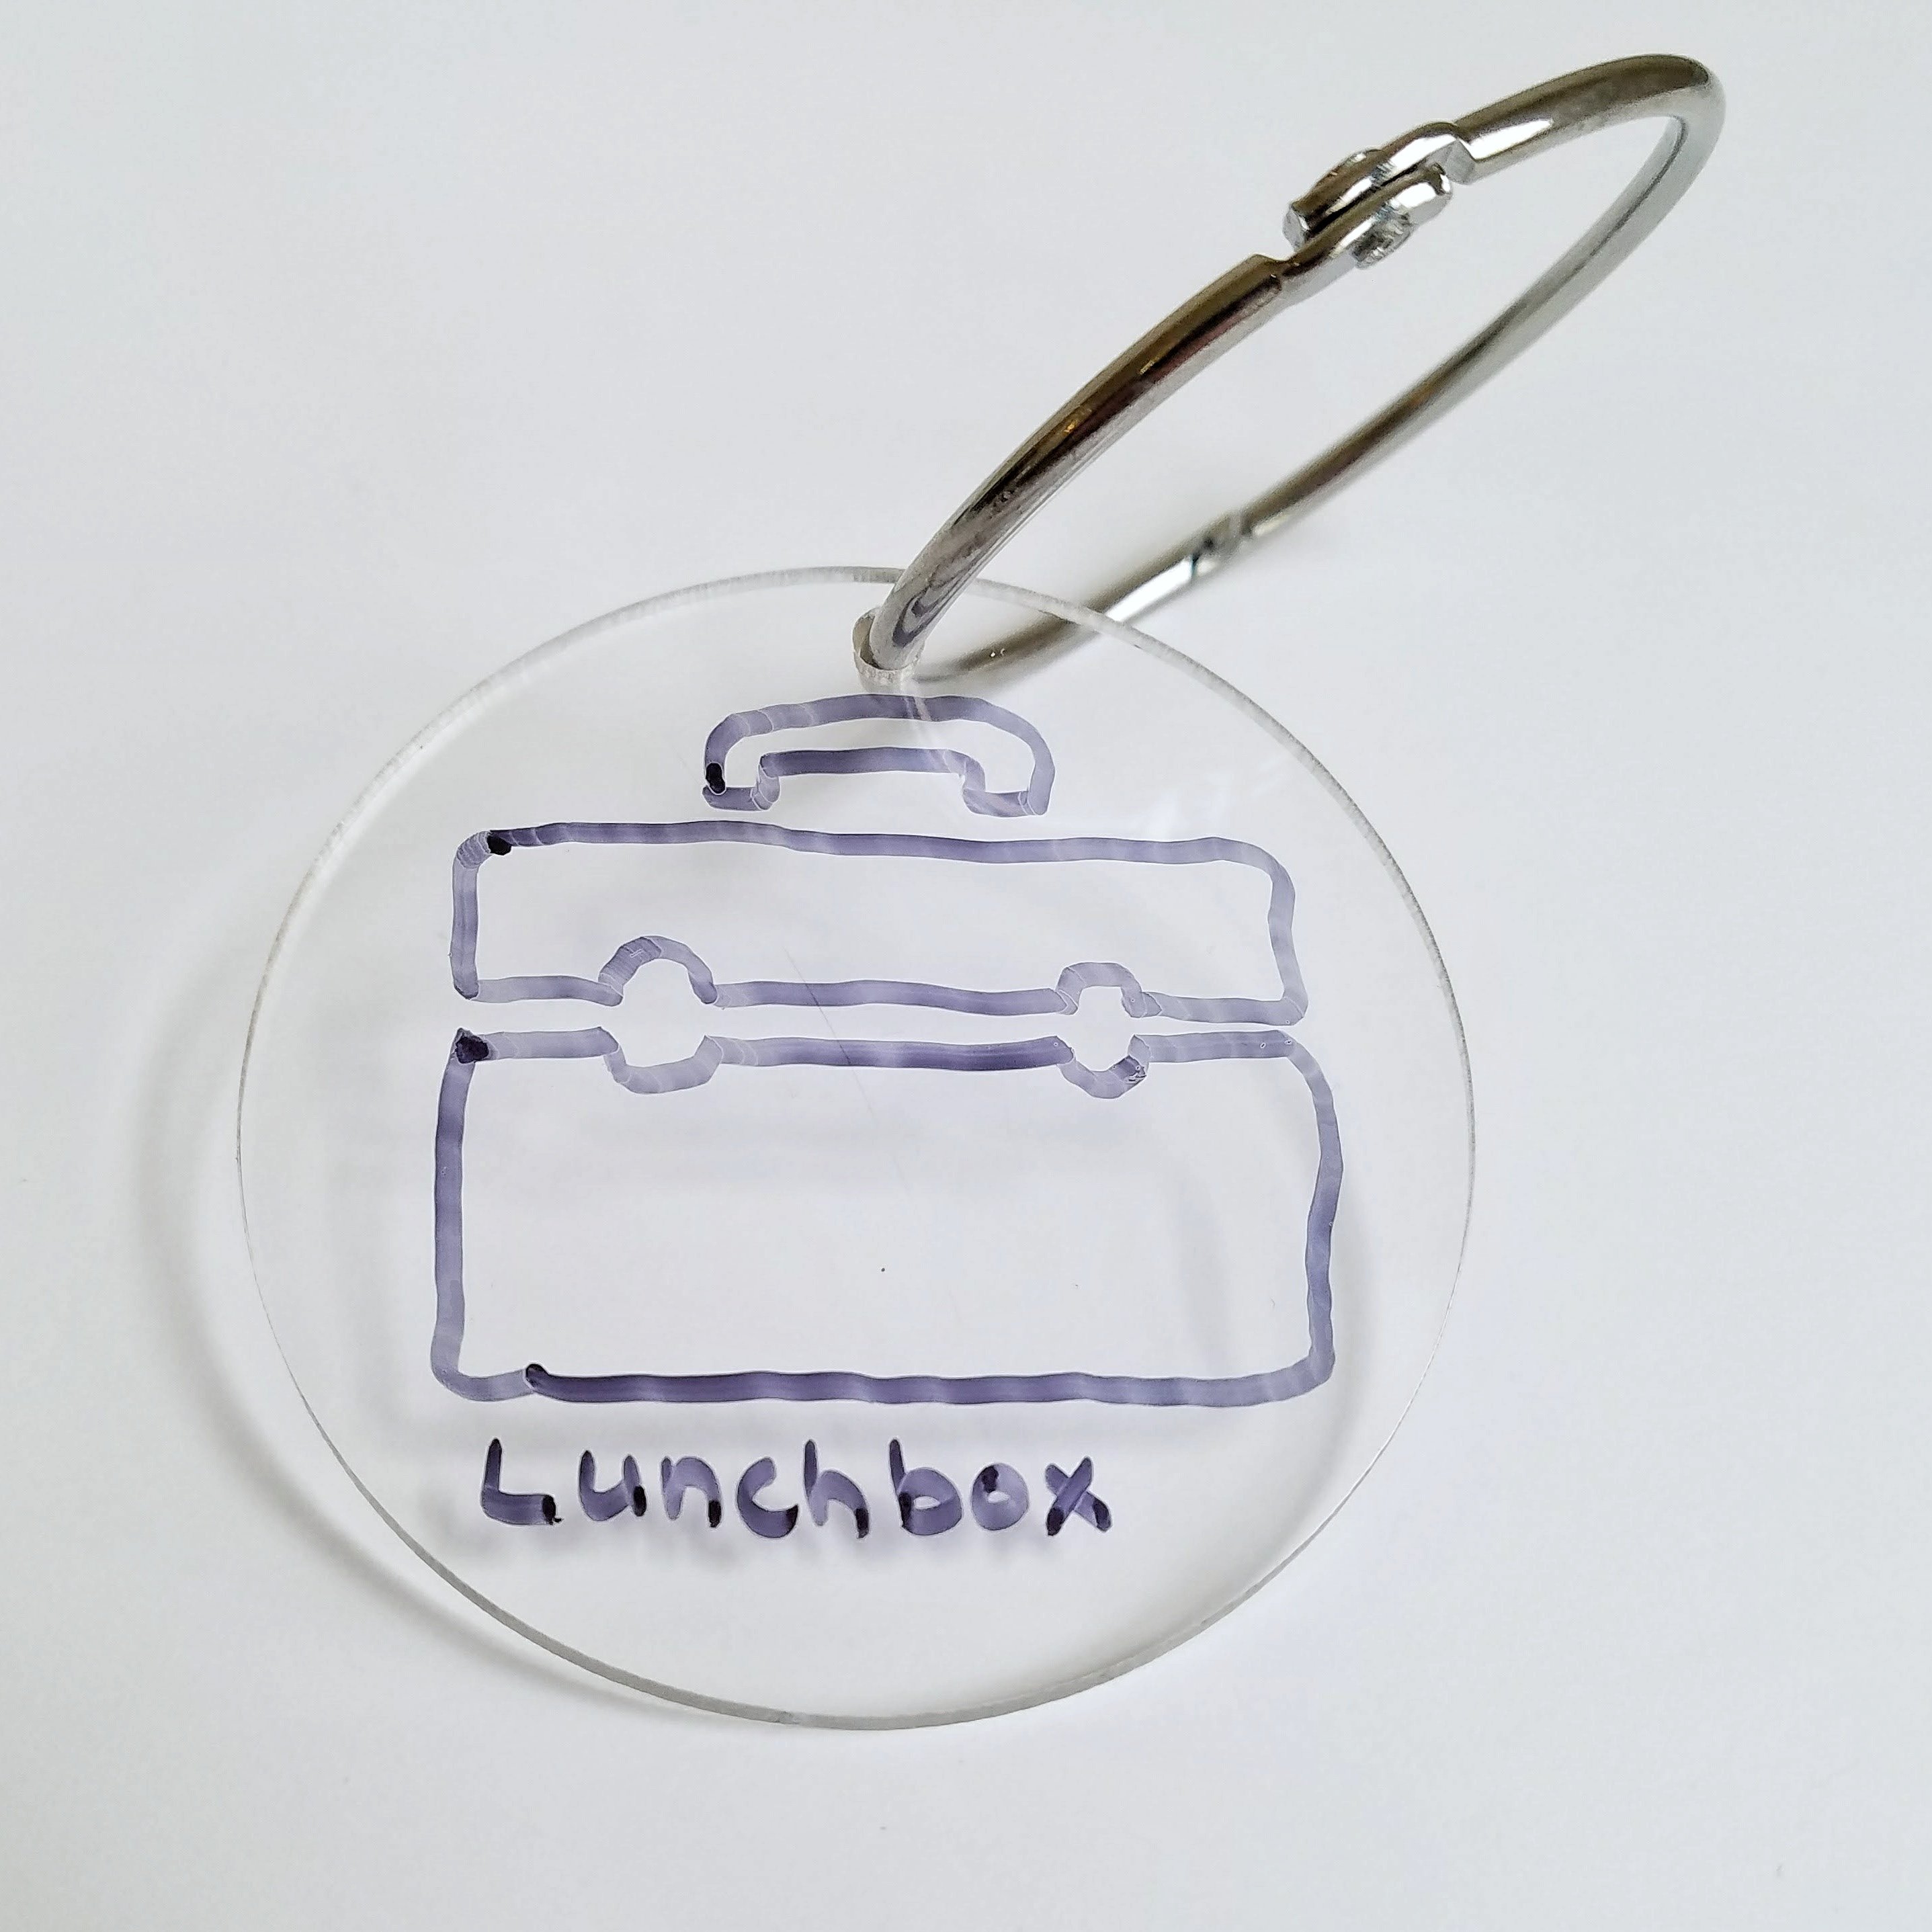
Step 4: Trace the icon as desired using the permanent marker. As you can see, I am not an artist and you can probably make this prettier.

Step 5: Write the name of the item on the disc if desired. I like to do this because it helps the kids learn the words.
Step 7: Remove the remaining covering from the disc.
Step 6: Attach all discs to the shower curtain ring and clip to backpack. Done! They’ll never forget their stuff – or sneak up on you – again!